Access to EC2 in a private subnet from local machine
Steps to connect to EC2 instances in a private subnet#
Prerequisites
Ensure you have installed AWS CLI v2
Ensure you have installed AWS Session manager plugin
If using AWS IAM user credentials#
Run the following command to configure your AWS credentials:
AWS configure#
When prompted, provide the credentials required:
Access key: your access key
Secret access key: your secret key
Region: eu-west-2
Output format: json
If using credentials from AWS SSO#
If you already have an AWS account and you use AWS SSO:
- Go to the SSO portal and navigate to the account in which the EC2 instance is hosted.
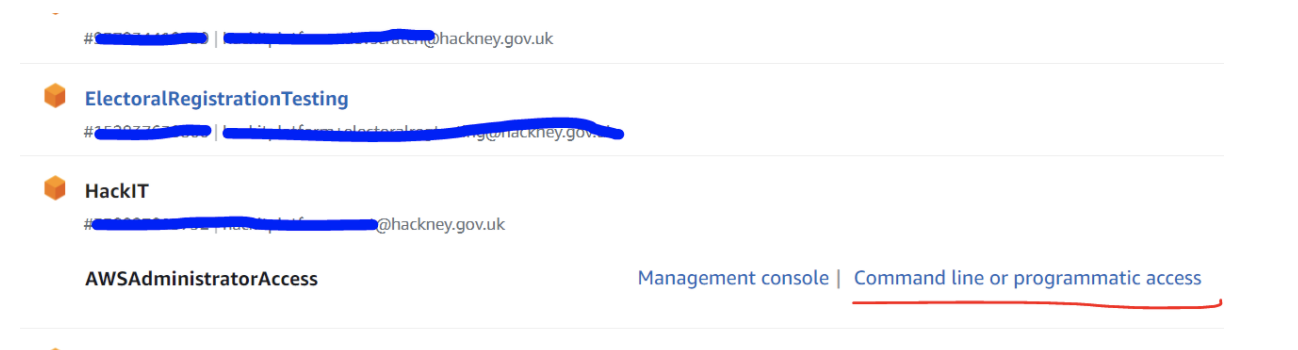
- Click on ‘Command line or programmatic access’
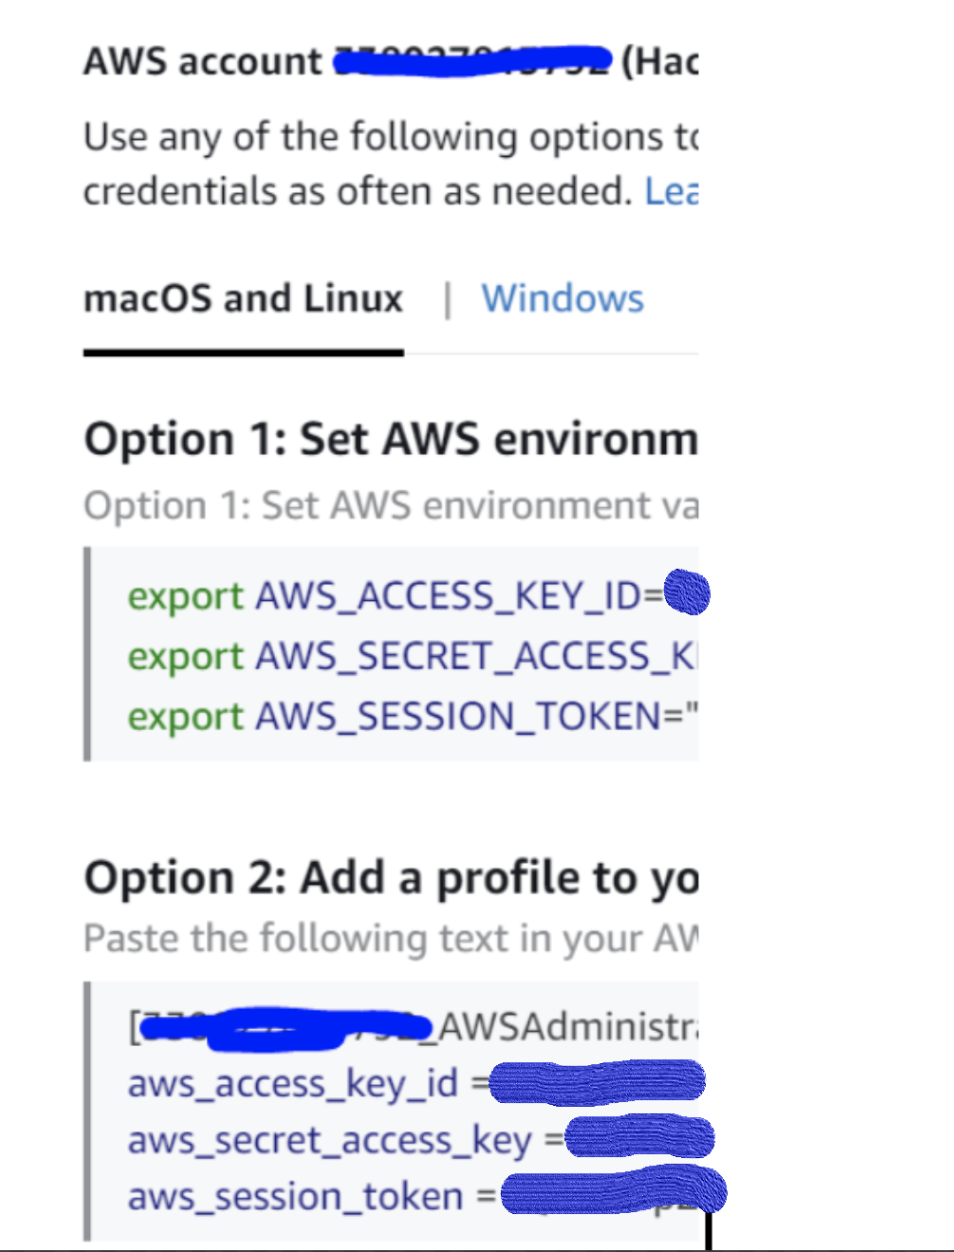
Copy your credentials (AWS Option 2 in screenshot above) and paste them in your aws credentials file (Usually located at the following path: Users -> your username -> .aws -> credentials)
Alternatively(AWS Option 1 in screenshot above), copy the EXPORT commands to set up the credentials locally in your CLI
Once the above is completed, please run the following command, where INSTANCE-ID is the EC2 instance ID as it appears in AWS console:
The above command will start a port forwarding session. To connect to your EC2 instance, go to your Remote Desktop software that you usually use and use localhost:55678 as the computer name.
You will then be prompted to enter your Windows machine credentials.