How to create a Lambda function for data ingestion on the Data Analytics Platform
Check the feasibility of a Lambda function approach
Before starting, it is advisable to discuss with the DAP team that a Lambda function is the most appropriate approach to take for your data ingestion task.
Here are some factors to consider before proceeding:
Execution Time
Lambda functions have execution time limits (currently 15 minutes per invocation). Ensure that your workload can execute within this time limit. If not, have a discussion with the DAP team to identify a more suitable approach.
Supported Runtimes and dependencies
Lambda supports multiple programming languages including Python. Certain Python packages may need to be imported. This can be achieved through Lambda layers.
- Monitoring Lambda integrates with AWS CloudWatch for logging and monitoring; ensure that the permissions set includes the ability to write logs for debugging later on.
Outline what you need your Lambda function to do
On the Data Analytics Platform, we typically use AWS Lambda to perform simple ingestion and data processing tasks which do not require the resource-intensive infrastructure of an AWS Glue job, for example:
- Making an API call and writing the response to the landing zone, including a crawler execution
- Reading in data from a Google Sheet
- Moving data from one zone to another zone, with a simple refinement
- Event-driven processing, for example once new data arrives in S3, a Lambda is triggered to perform a task immediately
- Near Real-time processing for example, when a new person is added to a permissions group, a Lambda is triggered to grant this permission
If your process involves reading in very large datasets, applying complex algorithms using Spark or and undertaking data transformations with multiple datasets, then this might be better suited to a different approach such as AWS Glue.
Requesting the correct permissions set
You will need to provide the DAP team with the following information so that the correct roles and policies can be set up for your Lambda. At the time of writing it is advisable to set up a short meeting with the DAP team to discuss your requirements :
- The department or service area that the process is for e.g. Housing
- Where data will be ingested / read from e.g. an external API; housing-zone-raw database
- Where data needs to be written to e.g. landing zone, refined zone
- The kind of actions that needed e.g. writing data to S3 s3:PutObject
- Whether logging is to be enabled
- Whether secrets needs to be accessed from AWS Secret Manager (and what the secrets are called)
- Any other services needed for your Lambda task e.g. AWS Glue Crawler StartCrawler action
Python packages and Lambda layers
Python packages can be imported in the usual way within your script, but will need to be made available to the Lambda function, usually by including within a zip file.
An alternative method is to use Lambda layers which are where a package (or data) can be stored within a zip file and made available to all organisational users on the AWS environment (our Data Analytics Platform). Some common packages such as pandas are already made available by AWS (for specific Python versions), but other packages can be added to the DAP using this method.
The advantages of using Lambda layers is that the overall deployment package will be smaller due to fewer dependencies as well as avoiding Lambdas importing the same packages in isolation. Having a smaller deployment package means that code can be tested and debugged more easily in the AWS Lambda console as it won’t need to be zipped up.
Creating a Lambda Function
Introduction
There is a good example of a simple Lambda function on the AWS website here. This guide demonstrates how to use the AWS Console to build, deploy and test a simple Lambda function. It is recommended to read this first before trying to build your own Lambda function.
Developing your own Lambda function
- Create and checkout a new git branch, giving it a name that is prefixed with the Jira card ID e.g.
di-001-my-amazing-api-ingestion-for-housing. This will ensure that any code commits and deployments are linked to the Jira agile workflow.
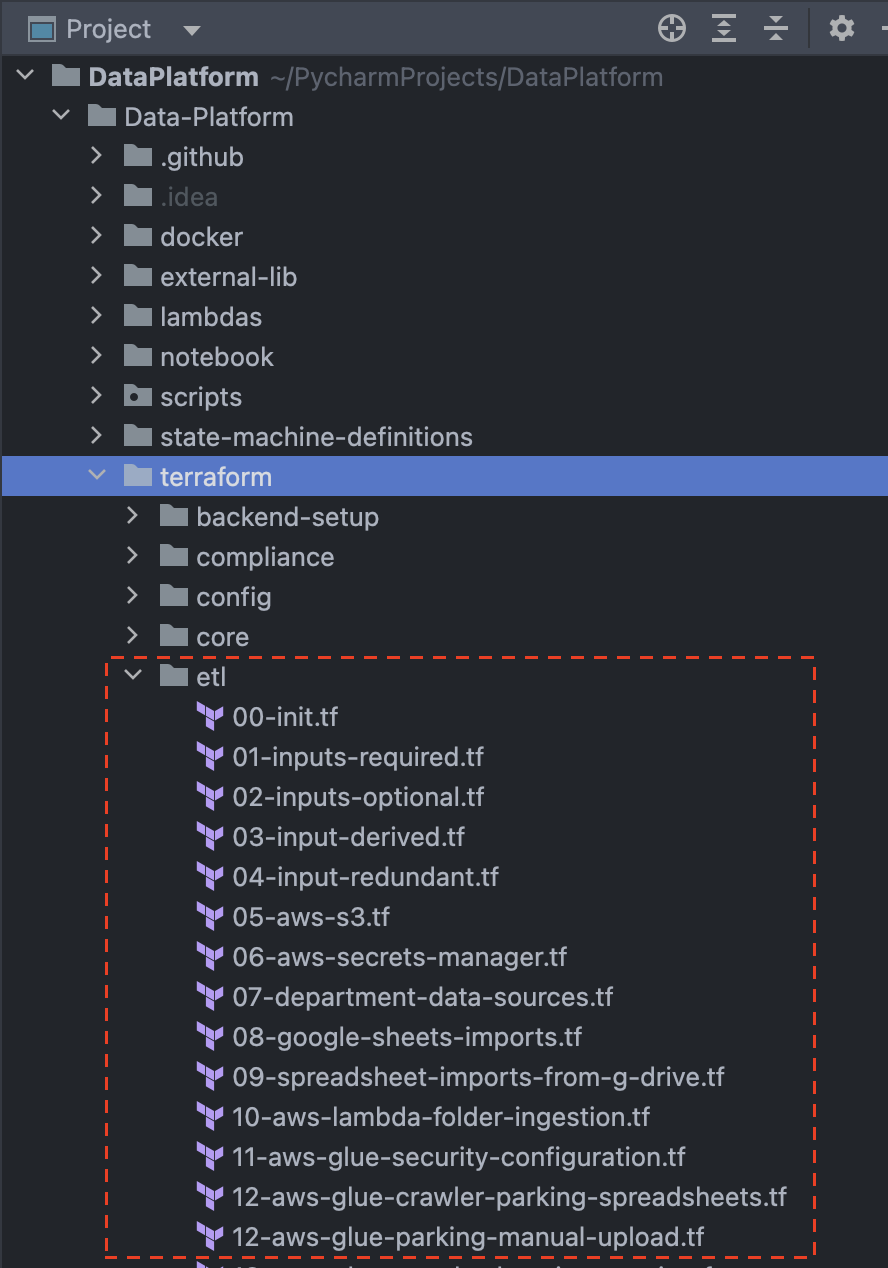
- Ensure that you have the required roles and policies set up. If these are new roles and / or policies then they will likely be set up on a Terraform script by the DAP team. If you are using an existing role then you can create an empty Terraform file in the
Terraform > ETLfolder. Name the file in the same format as existing files by adding a prefix with the next numerical value e.g.53-aws-lambda-my-amazing-ingestion.tf
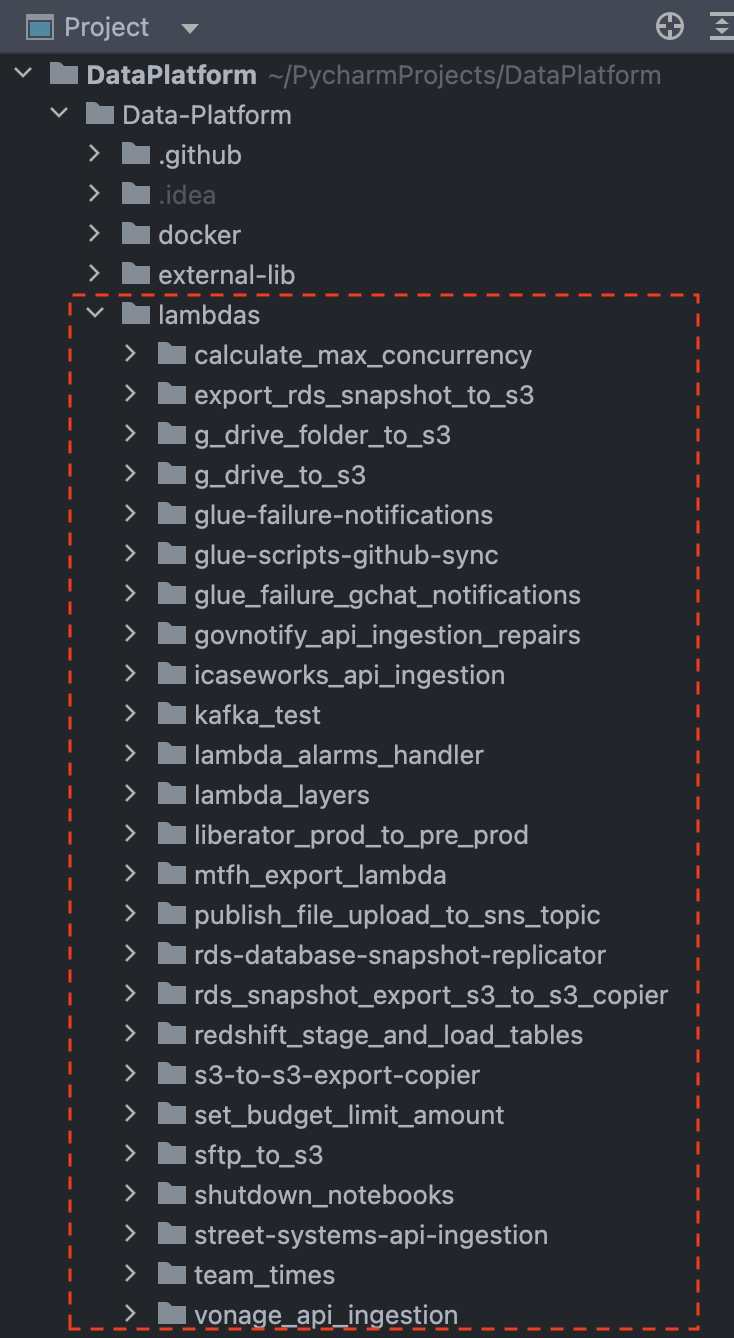
- Once you are ready to start developing your Lambda function you will need to navigate to the
lambdas folderin your local environment.
- Create a new folder and give it a name that describes what it is doing e.g.
my-amazing-api-ingestion-for-housing
- Create a new empty Python file called
main.py.
Below is an adapted example from the Data Platform GitHub repository. The script includes some commonly used functions that perform certain actions such as getting a secret from AWS Secrets Manager, adding date partitions to a file path and uploading a JSON string to an S3 bucket.
Using this as a template, replace the script with your package imports, functions and code. Your main code needs to sit within the lambda_handler(event, context) function which is what the Lambda job will look for when it is deployed.
The environment variables will be fully configured within the Terraform script that is created later on. For now, add the environment variables needed.
from datetime import datetime
import json
import logging
from os import getenv

import boto3
from botocore.exceptions import ClientError
from notifications_python_client.notifications import NotificationsAPIClient

# Set up logging to track key stages of the Lambda job
logging.basicConfig(level=logging.INFO)
logger = logging.getLogger(__name__)

# custom functions (add any custom functions here)
def get_api_secret(api_secret_name, region_name):
    session = boto3.session.Session()
    client = session.client(service_name="secretsmanager", region_name=region_name)
    try:
        get_secret_value_response = client.get_secret_value(SecretId=api_secret_name)
    except ClientError as e:
        raise e
    return get_secret_value_response["SecretString"]

def upload_to_s3(s3_bucket_name, s3_client, file_content, file_name):
    try:
        s3_client.put_object(Bucket=s3_bucket_name, Key=file_name, Body=file_content)
        logger.info(f"Uploaded {file_name} to S3")
    except Exception as e:
        logger.error(f"Error uploading {file_name} to S3: {str(e)}")

def prepare_json(response):
    return json.dumps(response).encode('utf-8')

def add_date_partition_key_to_s3_prefix(s3_prefix):
    t = datetime.today()
    partition_key = f"import_year={t.strftime('%Y')}/import_month={t.strftime('%m')}/import_day={t.strftime('%d')}/import_date={t.strftime('%Y%m%d')}/"
    return f"{s3_prefix}{partition_key}"

# main lambda_handler function (main script goes here)
def lambda_handler(event, context):
    logger.info(f"Set up S3 client...")

    # setting up clients needed for the task
    s3_client = boto3.client('s3')
    glue_client = boto3.client('glue')

    # environment variables
    api_secret_name = getenv("API_SECRET_NAME")
    region_name = getenv("AWS_REGION")
    output_s3_bucket = getenv("TARGET_S3_BUCKET")
    output_folder = getenv("TARGET_S3_FOLDER")
    crawler = getenv("CRAWLER_NAME")

    # main script
    api_secret_string = get_api_secret(api_secret_name, region_name)
    api_secret_json = json.loads(api_secret_string)
    api_key = api_secret_json.get("api_key_live")
    client = NotificationsAPIClient(api_key)

    response = client.get_all_notifications(include_jobs=True)
    output_folder_json = add_date_partition_key_to_s3_prefix(f'{output_folder}notifications/json/')
    json_str = prepare_json(response=response)

    # upload the json string to S3
    upload_to_s3(output_s3_bucket, s3_client, json_str, f'{output_folder_json}notifications.json')

    # crawl all the parquet data in S3
    glue_client.start_crawler(Name=f'{crawler}')

if __name__ == "__main__":
    lambda_handler("event", "lambda_context")
- Adding resources to the Terraform script
At the very beginning of your Terraform script (this is the script we created in step 2, 53-aws-lambda-my-amazing-ingestion.tf) ensure that the following block has been included. This will ensure that the Lambda is initially only deployed to pre-prod.
locals {
 amazing_api_ingestion_resource_count = local.is_live_environment && !local.is_production_environment ? 1 : 0
}
After the policy blocks within the Terraform script, add a module block for the main Lambda resource (which has been custom developed on the DAP). as well other resource blocks such as for an EventBridge target or an AWS Glue Crawler.
Within the layers list within the module block, any AWS supplied or custom Lambda layers can be added (see image below). A full example can be seen here.
module "gov-notify-ingestion-housing-repairs" {
 count                          = local.create_govnotify_resource_count
 source                         = "../modules/aws-lambda"
 tags                           = module.tags.values
 lambda_name                    = "govnotify_api_ingestion_repairs"
 lambda_role_arn                = aws_iam_role.housing_gov_notify_ingestion[0].arn
 identifier_prefix              = local.short_identifier_prefix
 handler                        = "main.lambda_handler"
 lambda_artefact_storage_bucket = module.lambda_artefact_storage_data_source.bucket_id
 s3_key                         = "govnotify_api_ingestion_repairs.zip"
 lambda_source_dir              = "../../lambdas/govnotify_api_ingestion_repairs"
 lambda_output_path             = "../../lambdas/govnotify_api_ingestion_repairs.zip"
 runtime                        = "python3.9"
 environment_variables          = {

   API_SECRET_NAME  = "housing/gov-notify_live_api_key"
   TARGET_S3_BUCKET = module.landing_zone_data_source.bucket_id
   TARGET_S3_FOLDER = "housing/govnotify/damp_and_mould/"
   CRAWLER_NAME     = "${local.short_identifier_prefix}GovNotify Housing Repairs Landing Zone"
 }
 layers = [
   "arn:aws:lambda:eu-west-2:336392948345:layer:AWSSDKPandas-Python39:13",
   "arn:aws:lambda:eu-west-2:${data.aws_caller_identity.data_platform.account_id}:layer:notifications-python-client-9-0-0-layer:1",
   "arn:aws:lambda:eu-west-2:${data.aws_caller_identity.data_platform.account_id}:layer:urllib3-1-26-18-layer:1"
 ]
}
- Deploying and testing
Stage, commit and push your new files to the repository. Check the results of the standard tests in the GitHub repository.
- Final deployment
Once you are satisfied that your Lambda is working as intended, change the locals block in your existing Terraform script (53-aws-lambda-my-amazing-ingestion.tf) to the following, which will deploy to both pre-prod and production environments.
locals {
 amazing_api_ingestion_resource_count = local.is_live_environment ? 1 : 0
}
Ensure that any secrets used are available in the production environment AWS Secrets Manager.
Well done, you have successfully created a Lambda job! 🎉